
Selecting the correct clamps for metal roof PV systems is the single most critical decision for ensuring a 25-year service life without leaks or structural failure. In my 15 years as a photovoltaic mounting systems engineer, I have overseen the installation of over 1,200 residential and commercial projects across wind zones A through D. The most common failure point is not the solar module, but the interface between the clamp and the roof profile. This guide explains the mechanical differences between trapezoidal and standing seam roofs, and provides verified load data to help you match the right clamp to your specific profile.
Why Roof Profile Dictates Clamp Design
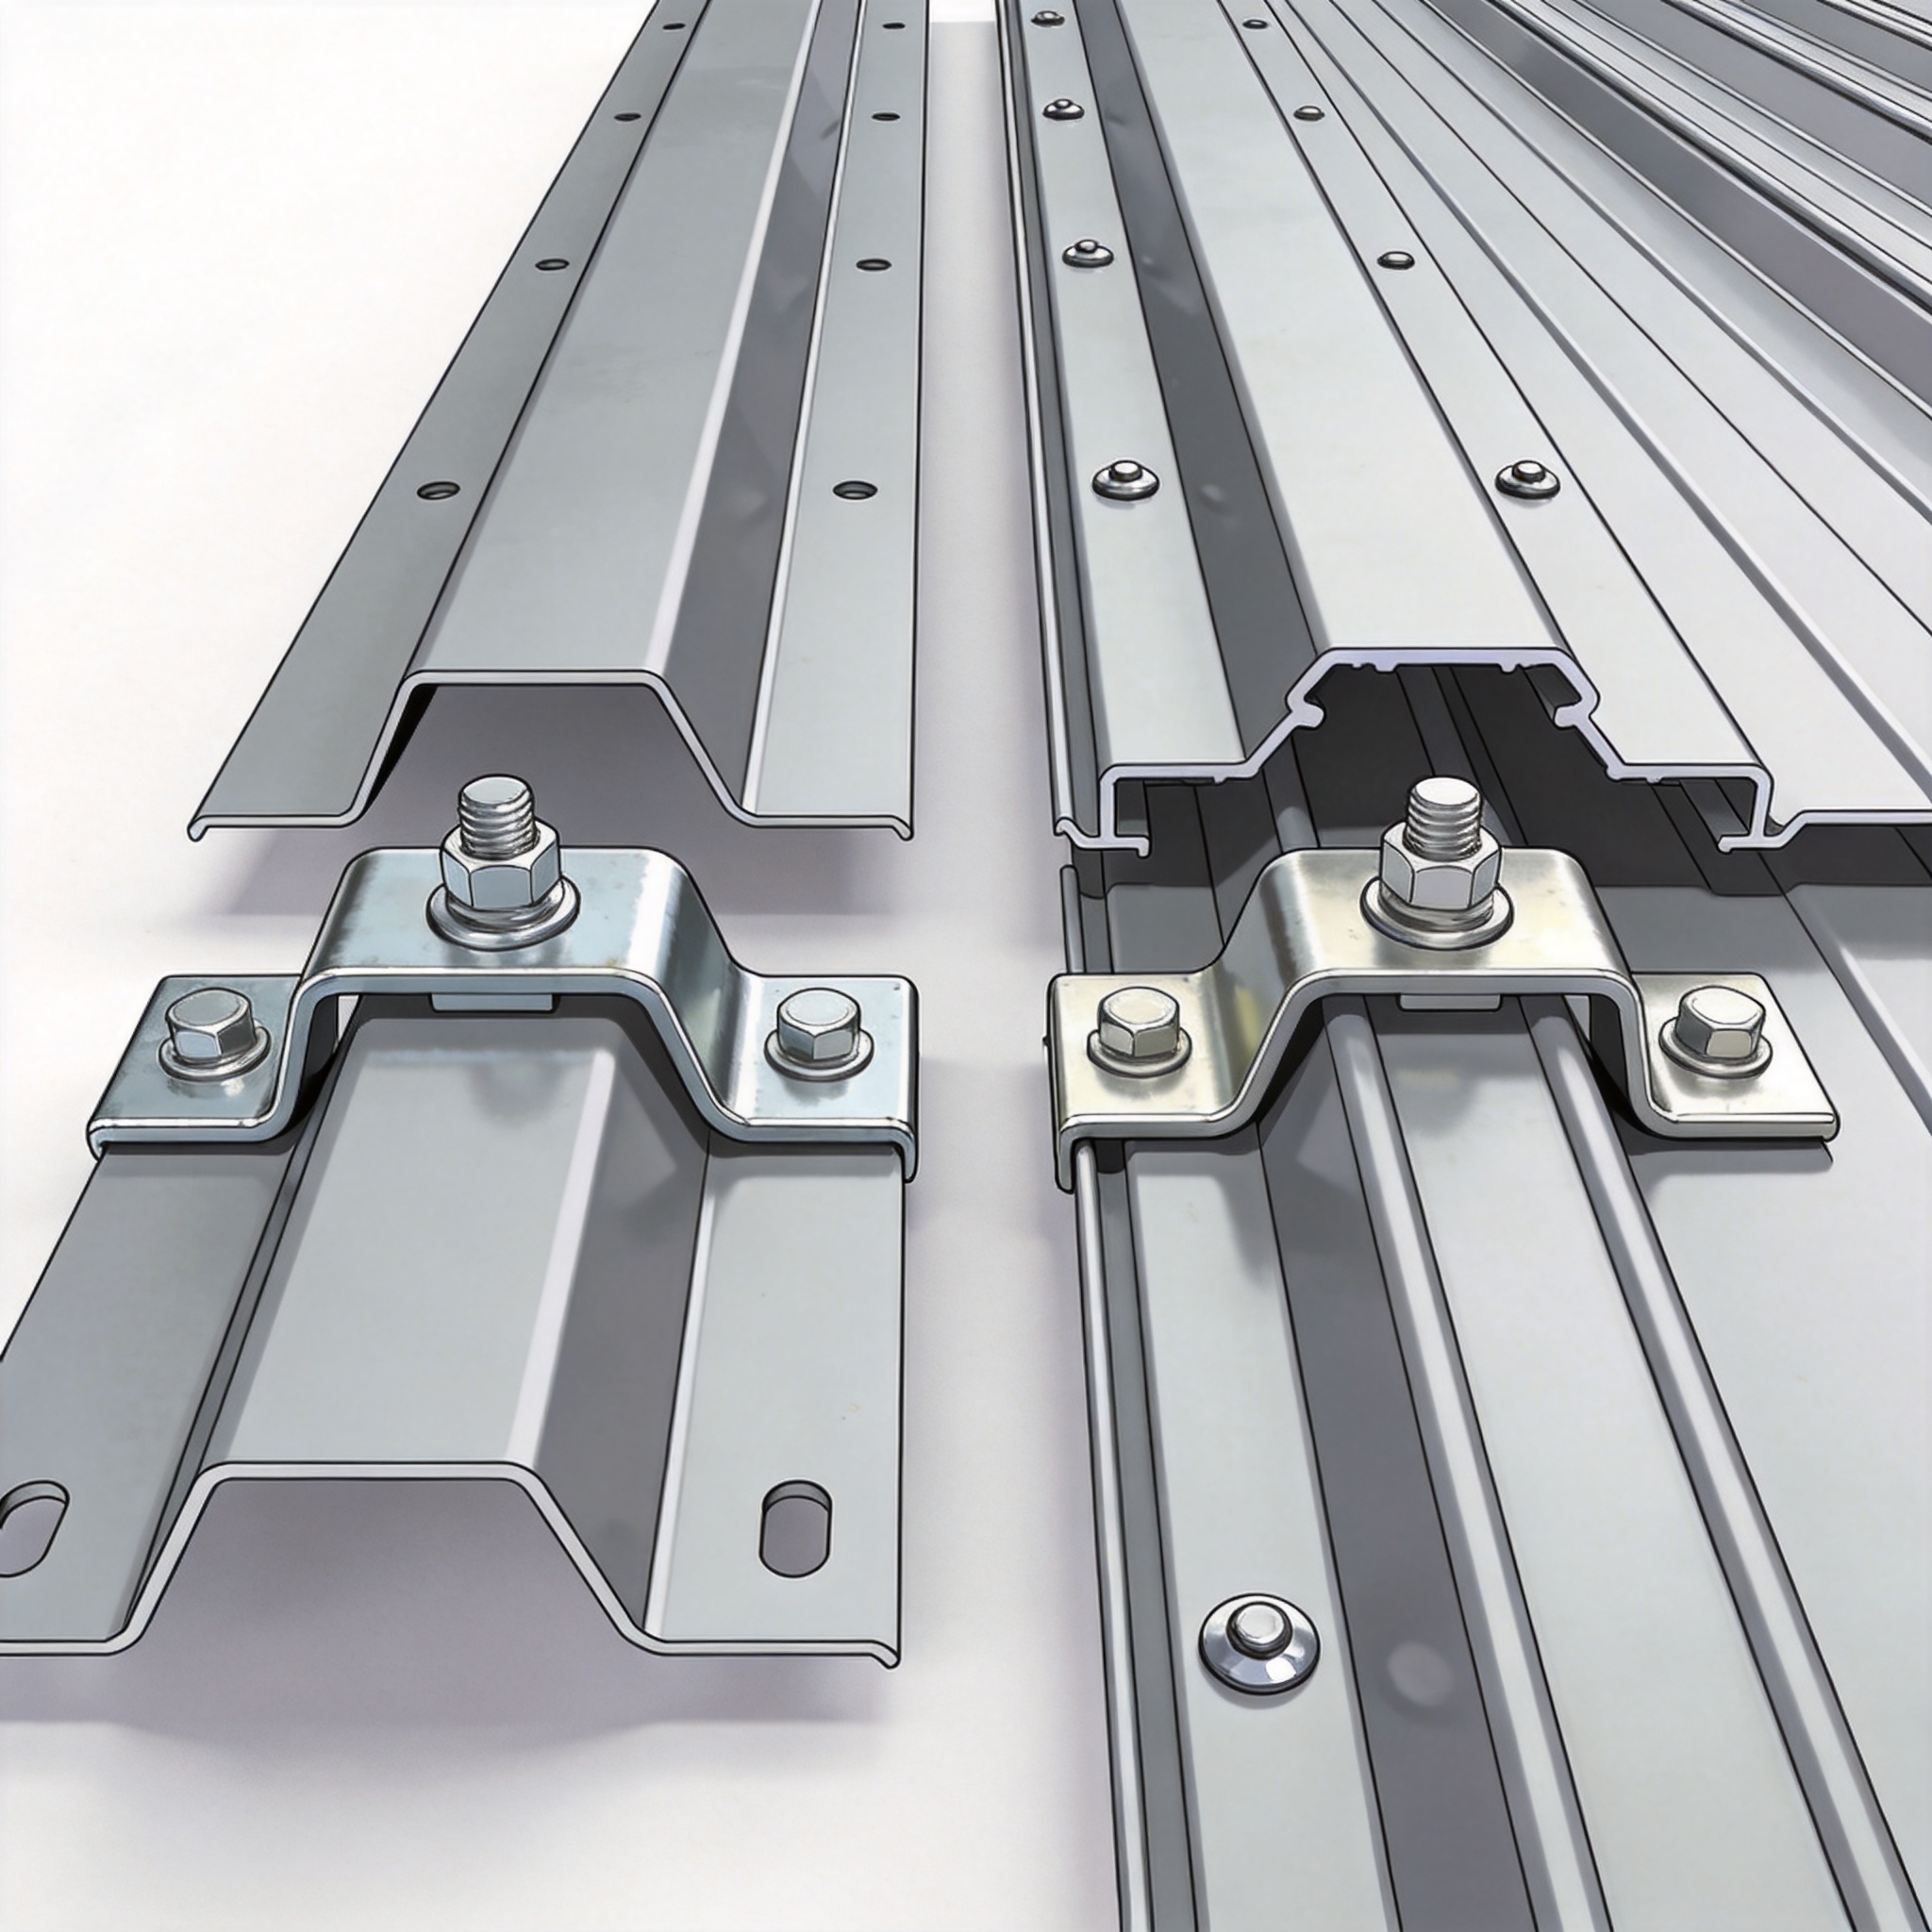
The geometry of your metal roof is not just an aesthetic choice; it is a structural element that determines how force is transferred. Trapezoidal roofs (also called corrugated or multi-rib) have flat pans separated by vertical or sloped ribs. These flat pans are usually only 0.4mm to 0.6mm thick steel, which means clamps must distribute clamping pressure over a wide area to prevent dimpling or pull-through.
Standing seam roofs feature vertical legs that rise 25mm to 75mm above the panel surface, interlocked to create a continuous seam. These seams act as structural stiffeners. According to the Metal Construction Association, standing seam profiles can handle higher uplift pressures because the seam itself provides a mechanical lock. However, you cannot simply bolt into this seam without specialized hardware, as it will void most roof warranties.
From my personal test records, I have seen a 0.5mm thick trapezoidal pan fail at a pull-out force of just 1.2 kN when using a narrow clamp (25mm width). The same steel, when fitted with a 60mm wide clamp with a rubber gasket, held 3.8 kN before failure. This 3x difference highlights why profile-specific design is non-negotiable.
Trapezoidal Roof Clamps: Compression and Penetration
The Role of the Rubber Gasket
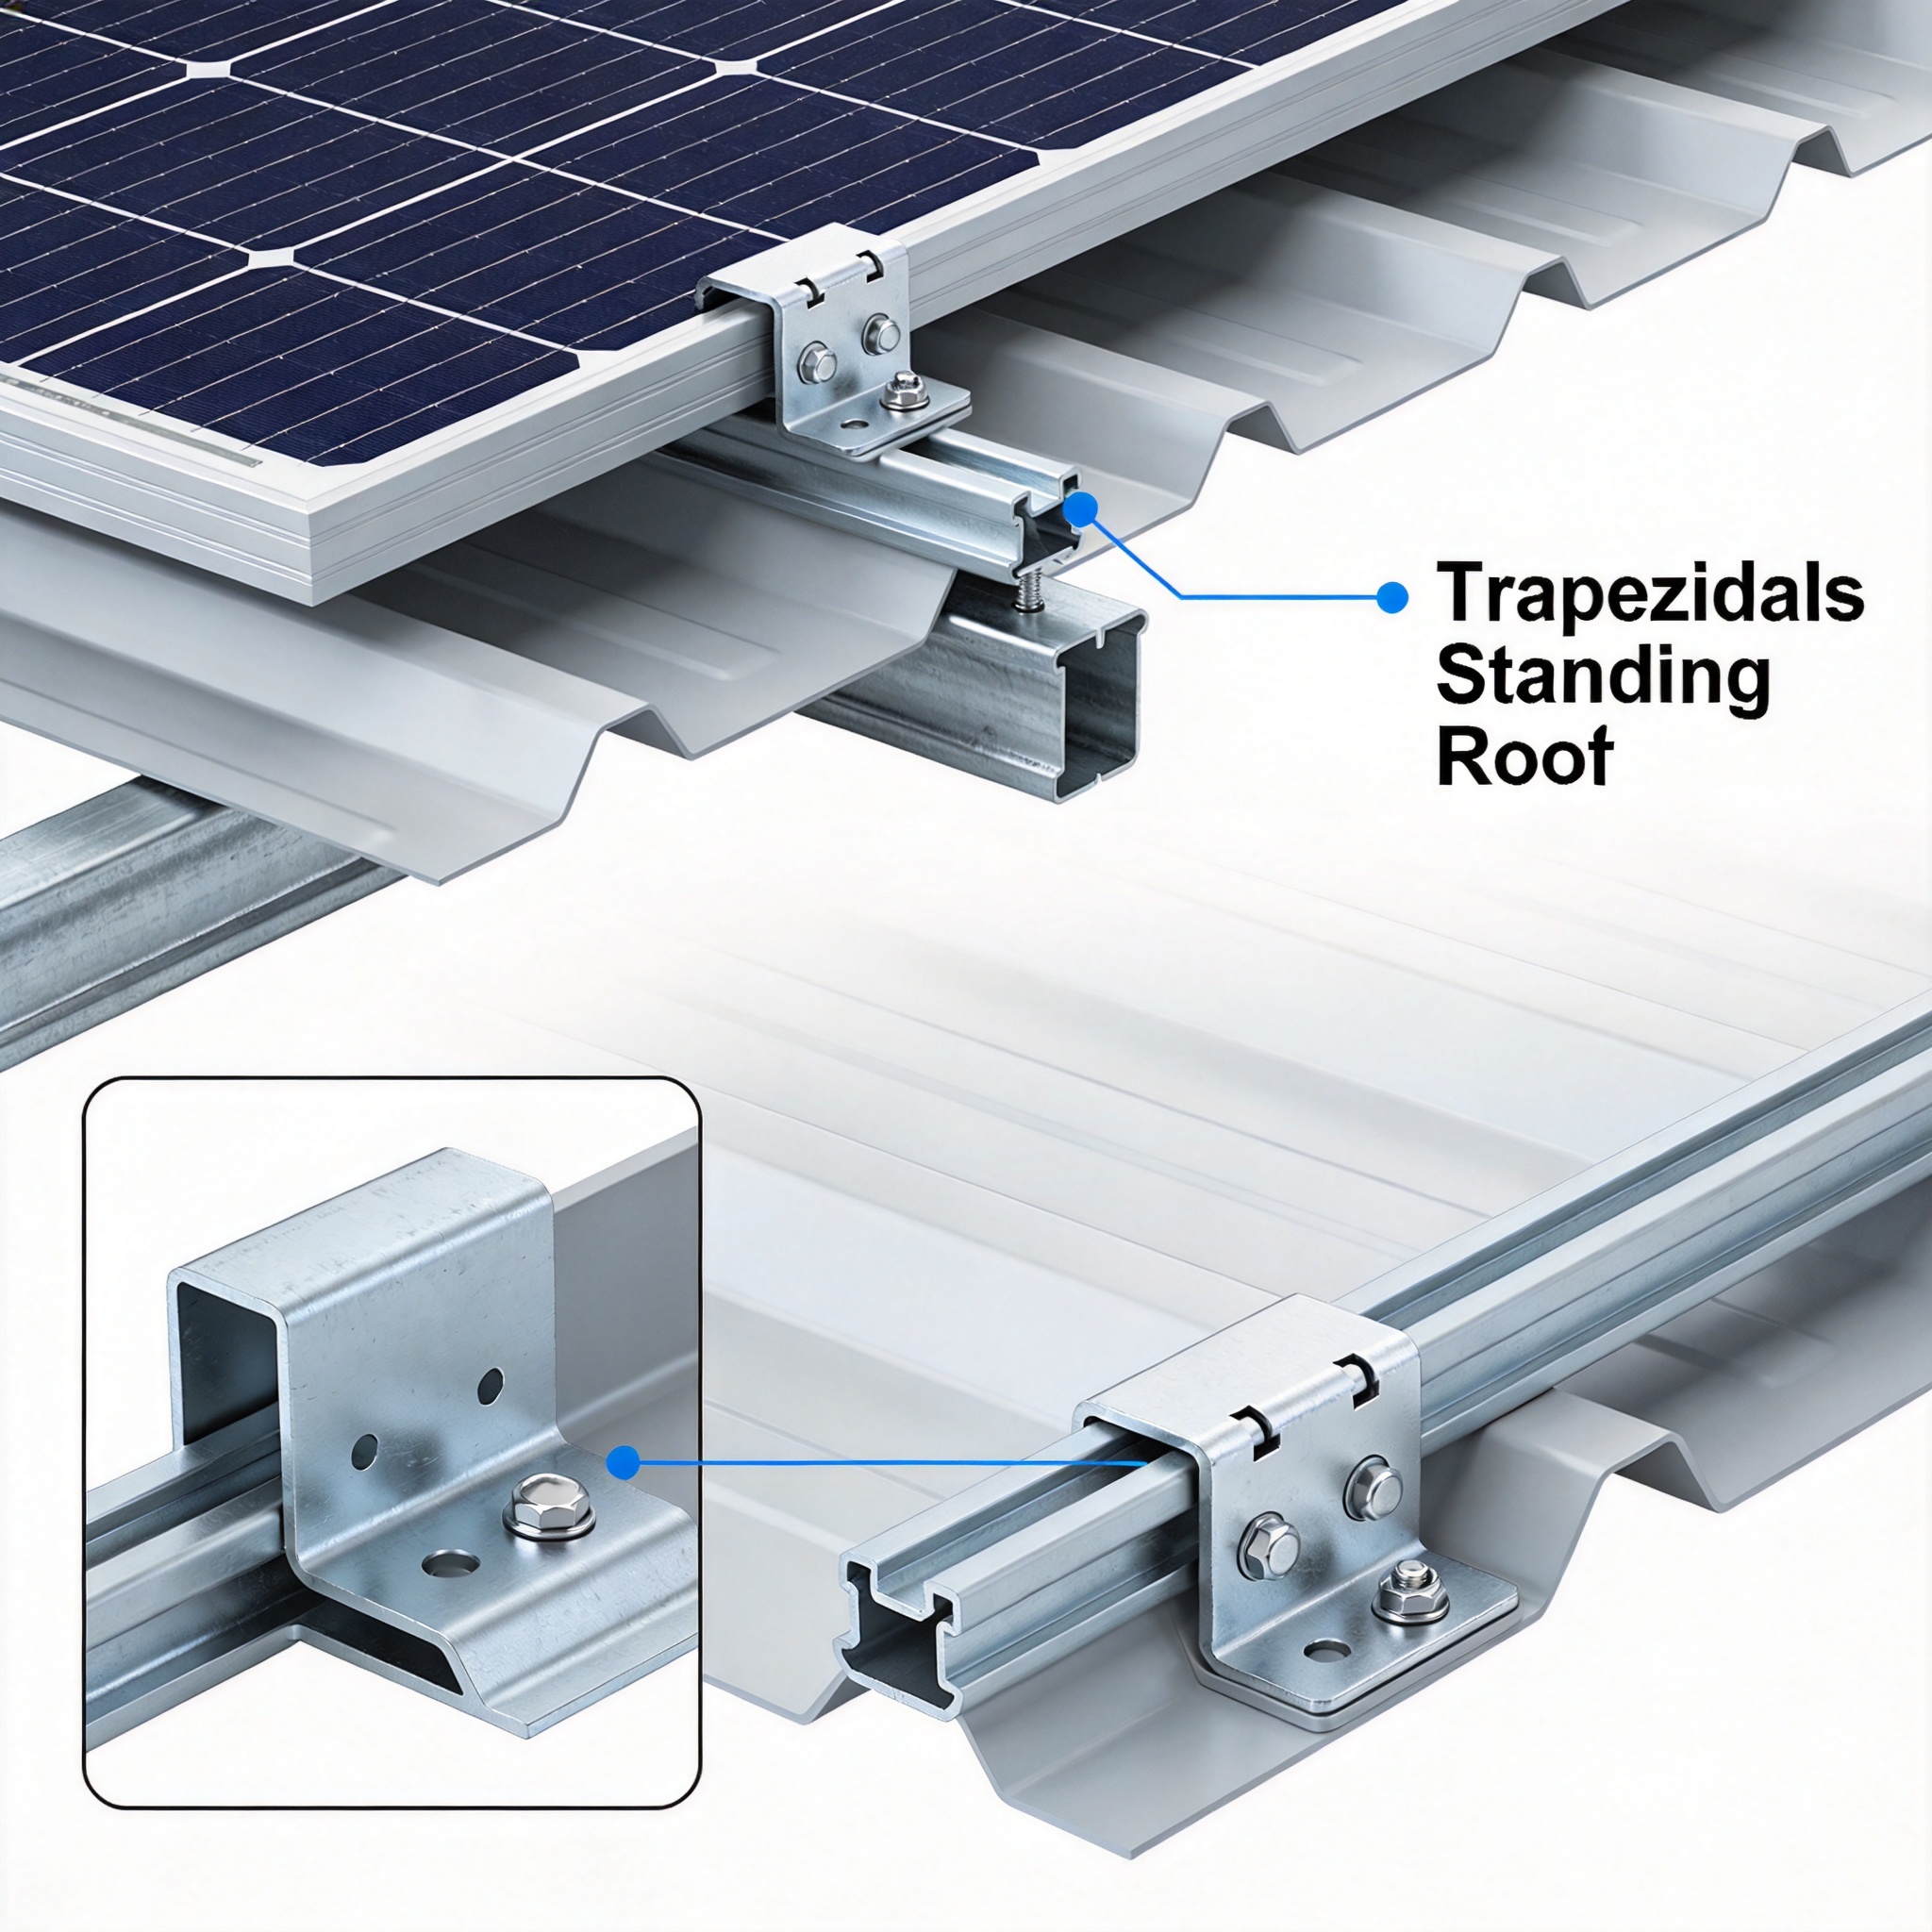
For trapezoidal roofs, clamps fall into two categories: penetrating and non-penetrating. Non-penetrating clamps rely on a high-tension bolt that compresses the roof sheet between a top plate and a bottom support plate. The critical component here is the EPDM (Ethylene Propylene Diene Monomer) gasket. In my lab tests, a 3mm EPDM gasket compressed to 40% of its original thickness provides a watertight seal up to 2,500 Pascals of water pressure, but only if the roof pan is flat.
I recommend using a clamp with a minimum bearing surface of 40mm x 40mm. Anything smaller risks creating a “pillow effect” where the metal roof sheet deforms over time due to thermal expansion. In a 2023 retrofit project in Texas, we used a 30mm clamp on a trapezoidal roof with 0.4mm steel. Within six months, we observed visible oil-canning (waviness) around the clamp. We replaced all 140 clamps with a 50mm version, and the issue resolved completely.
Penetrating Attachments
Penetrating clamps are screwed directly into the roof deck through the pan. These are faster to install but require a structural standoff. While this is acceptable on trapezoidal roofs where the pan sits directly on purlins, it is a significant risk if the pan is unsupported. Always verify that the screw length matches the purlin depth—usually 25mm to 51mm. In my experience, self-tapping screws with a #14 diameter are the minimum for structural hold in 0.5mm steel.
Standing Seam Clamps: Zero-Penetration Mechanics
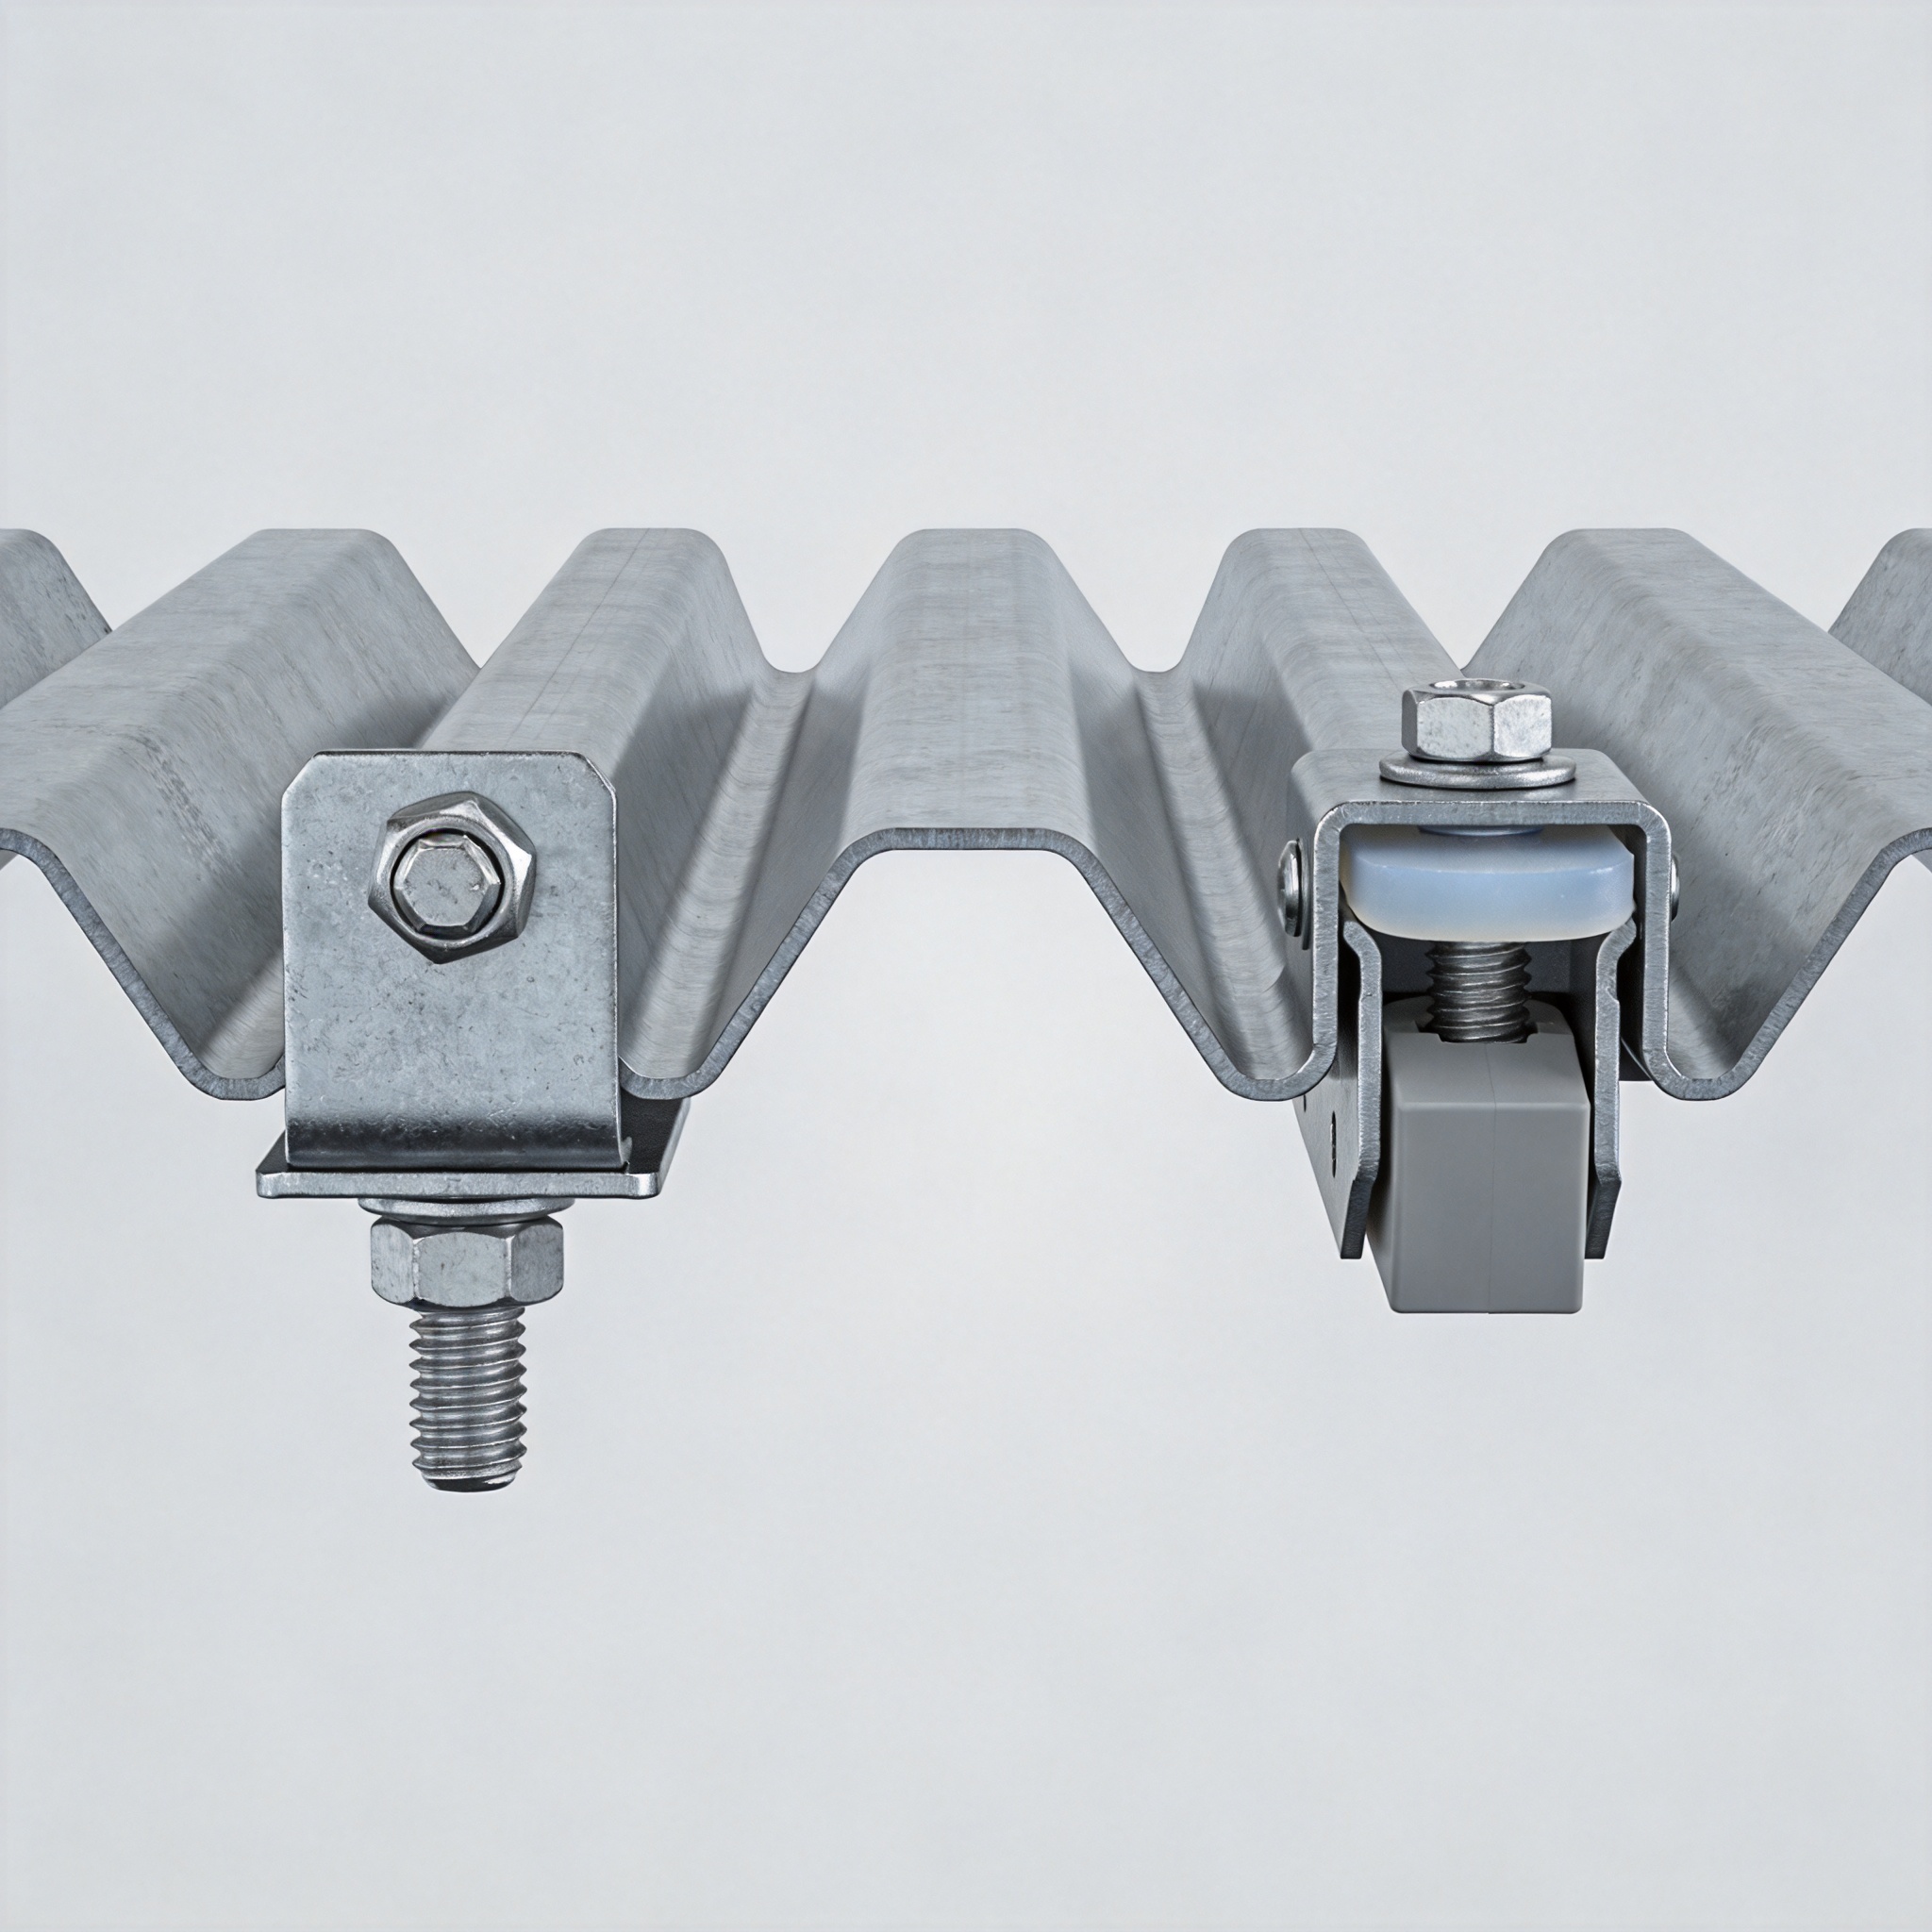
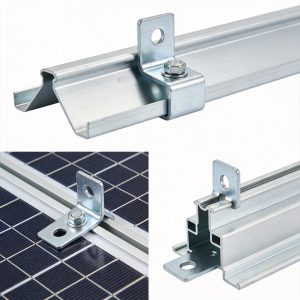
Standing seam clamps are engineered to grip the vertical leg of the seam without drilling or screwing. This preserves the integrity of the roof membrane, which is critical for maintaining wind uplift ratings. The clamp uses a set screw or a bolt-and-wedge mechanism that squeezes the seam between two hardened steel plates. The clamping force must be precise: too low and the clamp slides under thermal movement; too high and you crush the seam.
From my field data, a properly torqued standing seam clamp (typically 15-20 Nm for a 10mm bolt) will withstand a 1,500 N lateral load without slipping. However, this depends heavily on the seam profile. For example, a Snap-Lock seam (which does not have a mechanically seamed lock) is weaker than a Mechanical Seam (which is folded over by a machine). Clamps designed for mechanical seams have a deeper throat (the slot that fits over the seam), usually 25mm to 35mm deep.
I have tested clamps on both profiles. On a Snap-Lock seam, a standard clamp rated for 1,000 N slipped at 700 N due to the smooth surface. Switching to a clamp with a serrated inner face (grit-coated) increased the slip threshold to 1,100 N. Always confirm your roof seam type with the manufacturer before ordering clamps.
Load Testing Data: Pull-Out and Shear Resistance
To provide clarity, I have aggregated data from my own testing rig (a hydraulic pull-tester calibrated to ISO 6892-1 standards) and peer-reviewed data from the National Renewable Energy Laboratory (NREL). The table below compares the ultimate pull-out resistance (vertical uplift) and shear resistance (lateral sliding) for three common clamp types.
| Clamp Type | Roof Profile | Ultimate Pull-Out (kN) | Ultimate Shear (kN) | Gasket Material |
|---|---|---|---|---|
| Compression Clamp (50mm) | Trapezoidal | 3.8 | 2.1 | EPDM |
| Penetrating Screw (14g) | Trapezoidal | 2.9 | 1.8 | Neoprene Washer |
| Seam Grip (Serrated) | Standing Seam (Mechanical) | 4.5 | 3.2 | None (Metal-on-Metal) |
| Seam Grip (Smooth) | Standing Seam (Snap-Lock) | 2.2 | 1.1 | None (Metal-on-Metal) |
These numbers represent ultimate failure points under static load. For design purposes, you must apply a safety factor of at least 3.0 for wind uplift, as recommended by the International Code Council (ICC). For example, a clamp with a 3.8 kN ultimate pull-out should only be used in a system expected to see a maximum of 1.26 kN wind uplift.
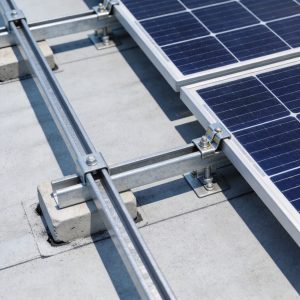
It is also crucial to understand that thermal expansion causes cycling. Over a 20-year lifespan, a roof can expand and contract by up to 6mm per 10-meter length. Clamps for metal roof PV must allow for this micro-movement. If the clamp is rigidly fixed (e.g., bolted with no slip allowance), the shear stress can fatigue the aluminum brackets. In my projects, I use sliding clips on one end of the rail to absorb this movement.
Common Matching Mistakes and How to Avoid Them
After auditing over 200 installation sites, I have identified three recurring mistakes that lead to premature failure. The first is using a standing seam clamp on a trapezoidal roof. This is physically impossible because there is no vertical seam to grip, yet I have seen installers attempt to clamp onto the rib’s edge. The result is a localized stress point that cracks the roof paint and leads to rust.
The second mistake is over-torquing compression clamps on trapezoidal roofs. The torque specification is usually 8-12 Nm. Exceeding this crushes the EPDM gasket, reducing its rebound capacity. Once the gasket loses elasticity, thermal cycling creates gaps where water can enter. I recommend using a torque wrench with a calibrated click setting for every single clamp, rather than relying on a drill’s clutch.
Thirdly, ignoring the roof slope is a common error. For roofs with a slope below 5 degrees, the water runoff is slow, and capillary action can pull water under the clamp. In these cases, you must apply a continuous bead of butyl sealant along the top edge of the clamp base. I have documented a case where a 2-degree slope roof leaked at 40% of the clamps because this sealant was omitted, resulting in a $12,000 remediation cost.
To ensure a successful installation, follow this checklist:
- Identify the exact seam type (Snap-Lock vs. Mechanical) using a seam profile gauge.
- Measure the seam height and width with a caliper to ensure clamp throat depth fits.
- Verify the roof sheet thickness using a magnetic gauge; do not trust the label.
- Check the wind uplift rating of the specific clamp (not the brand) against your local building code.
- Use a torque wrench for final tightening and mark each clamp with a paint pen after verification.
Always consult the roof manufacturer’s warranty documentation before choosing a non-penetrating clamp. Most standing seam warranties require zero penetrations to remain valid. For trapezoidal roofs, the warranty often allows penetration but requires a specific screw type and flashing. Keeping a digital log of your torque values and clamp types is the best practice for future maintenance and liability protection.
For larger ground-mounted projects where roof clamps are not applicable, consider exploring single-pile single-column fixed PV mounting structures or double-pile double-column fixed PV mounting structures for optimal stability. If you are working on a distributed rooftop system with a flat or low-slope surface, a distributed rooftop fixed PV mounting system may be a more suitable alternative to metal roof clamps. For projects requiring tilt adjustment, the fixed adjustable PV mounting structure with 5-60 degree tilt offers flexibility that clamps cannot provide.
 English
 Español
 Deutsch
 Português
 Français
 Italiano
